Friday, May 29, 2015

Week 9 Post 3

Final Touches

After the pet feeder was tested, we found that no other changes needed to be made, we used the epoxy to attach the PVC pipe to the mouth of the water gallon. We did this step last, because once the PVC pipe was on the mouth of the water gallon, it would be hard to make any changes if needed. 


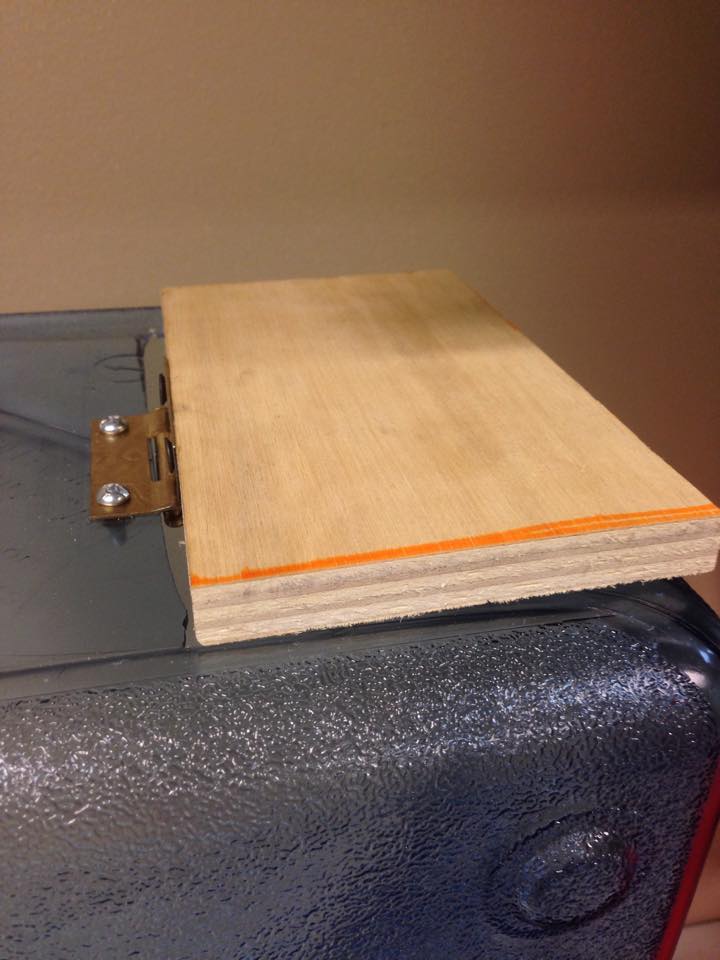
This is the final structure of the pet feeder. The PVC pipe is attached to the water gallon, where food will be dispensed. The NXT Mindstorm can be easily accessed at the side of the feeder, by simply sliding the door of the box. 

From testing out the pet feeder, the more food that was added, the more the feeder was clogged. To fix this, we adjusted the NXT program so the motor would loop between opening and closing for five times. After adjusting the program, more food came out of the pet feeder and it clogged less. 

Thursday, May 28, 2015

Week 9 Post 2

Progress Report

We found that the way the water gallon was help up with the screws were loose, so we went to the machine lab to fix it. We unscrewed the screws we originally had in, and added different screws in. This time we also added a bolt and a washer to make sure that it is tight and will not move around. We also made a box for the NXT Mindstorm so that it can be easily accessed by the owner, but the pet cannot get to it. The box is made out of pieces of wood Chris bought in from home. The box has a sliding door for easy access to the NXT Mindstorm. After the box was completed, it was attached to the side of the pet feeder with screws and wood glue.


Wednesday, May 27, 2015

Week 9 Post 1

In Lab Post 

Kevin attached the two PVC pipes together prior to lab with PVC cement. We also added duct tape on top of the glue to ensure that it is stable. 


During lab, we went to the machine lab and used the epoxy to attach the wooden box used to cover the NXT motor onto the PVC pipe. 


We also made a new cover for the top of the water gallon, since the previous one seemed to be a little flimsy. The new cover was made with a thicker piece of wood found in the lab. We asked the professionals to cut it into the size we wanted. This cover is much more sturdy and covers a larger area of the cut in the water gallon. 


Saturday, May 23, 2015

Week 8 Post 3


Progress Post 

In this week's lab, we went to the machine lab and asked around to figure out what type of adhesive would be best to attach the PVC pipe to the water gallon in order for the food to fall down. The professionals at the machine lab recommended epoxy. Kevin went to purchase the epoxy and PVC cement so we can later attach the pipe and the gallon together. 


Friday, May 22, 2015

Week 8 Post 2

Progress Post 

We went back to the machine lab to cut out a circle out of wood for the inside of the PVC pipe, so the pet food will not fall down on its own. The circle turned out to be a little too big, so we filed it down so it will not get stuck at the edge of the PVC pipe. We also asked the professionals in the machine lab what would be best to glue PVC pipes together, and they recommended PVC cement.


Week 8 Post 1

In Lab Post 

This week in lab we went to the machine lab and made a cover for the top of the pet feeder, in order to prevent pets from reaching the food. We found a piece of material and cut that to the shape of the cut in the water gallon. To open and close the cover easily, we decided to design the cover like a door. To do this, we used the door hinge that Pauline bought in. First we marked where we wanted to drill holes in the water gallon and the cover. After that we used a drill, and drilled some holes in, then we found some screws and bolts and screwed them into place.


Week 7 Post 3

Progress Report
     Week 7 is about to come to an end and we intend on putting a lot of effort into building the feeder in the next two weeks. As of now, the supporting pieces wood seem to be a bit unstable after being brought back and forth between home and school. We decided to quickly redo it a bit so we unscrewed the screws we had in it originally. Instead of using screws this time, we chose to use bolts and nuts again since they seemed to be really sturdy when we used it on our door hinge. It took us a while to put it on, but once we did it seemed a lot more stable than it was before.